Help
Starting your Adventure
The first thing you’ll need is a disk image or a ROM file that could contain interesting icons. Some examples of these are hard drive images you use in an emulator or in a device like BlueSCSI, uncompressed floppy images, a ROM file you found by mistake on the Internet, a CD-ROM disk image…
Make sure this image is uncompressed (.smi images won’t work, for example).
As vou embark on your adventure through that disk image, set your expectations correctly: you’re going to be browsing through it at close to the byte level. In a simple, 800 KB floppy image, there are already 819,200 bytes. In a 30 MB image, there are 31,457,280. Stock up on provisions. Make yourself some coffee. This might take a while.
Once you’re ready, start Raiders of the Lost Icon (RotLI) and drag and drop your disk image to its window (or use the Open… menu).
RotLI will go through your image as fast as it can and, when it’s done with its initial scan, will show you its contents as icons. The huge, overwhelming majority of these will look like garbage, bytes that represent other things than icons. You could be looking at a program, or parts of the operating system or music.
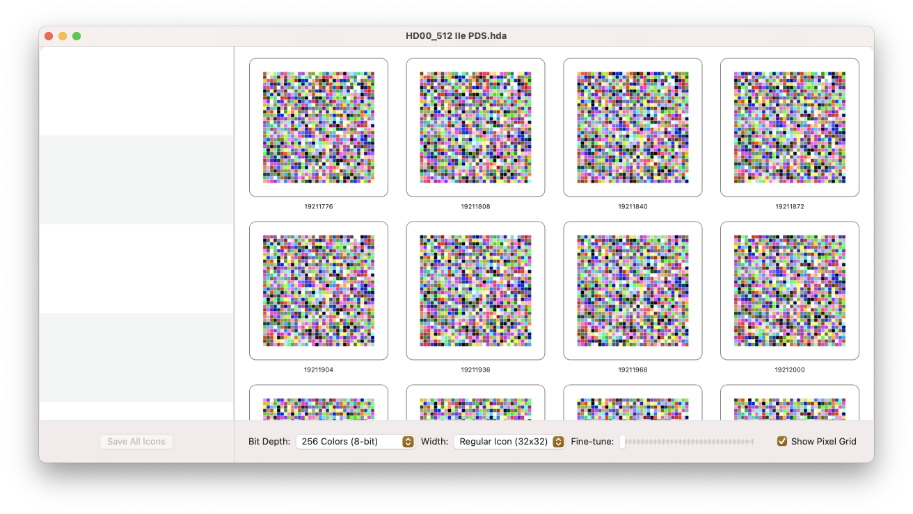
But, sometimes, you will be looking at 🏆 icons 🏆.
You may now scroll through the giant list until you find something interesting.
Macintosh Icons
In the classic Mac OS, there are several kinds of icons.
They come in two main sizes: 32 by 32 and 16 by 16 pixels.
The 32x32 icons are the ones most commonly seen. There also exists icons that are 16 by 12 pixels, but they are quite rare.
Icons also exist in different bit depths. The bit depth is a way to express the number of colors that they use: 1-bit means there are only 2 possible colors represented at once.
On the Mac, these colors are black and white. It’s the original bit depth of the black and white Macintosh, and the only one that was supported until Color QuickDraw appeared with the Macintosh II.
4-bit means that here are 16 possible colors represented at once, and 8-bit allows for 256 colors. 4- and 8-bit modes rely on color palettes to determine exactly what the 16 and 256 colors actually are.
RotLI carefully recreates the default palettes of classic Mac OS to make sure the icons look the way they used to on the original machines.
Later versions of the Mac OS supported more sizes and more bit depths but RotLI does not support these (yet?).
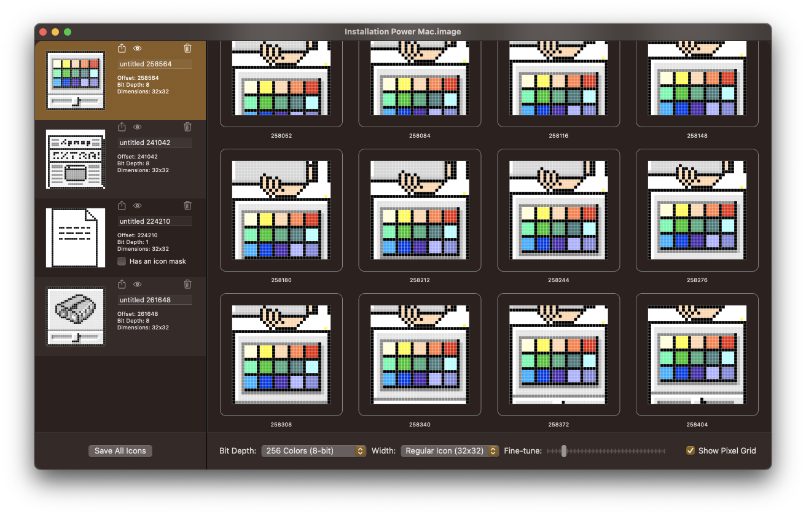
Selecting an Icon Type
When it starts, RotLI defaults to looking for 32x32 icons, with 1-bit depth. Because it’s a classic Mac OS requirement that all icons must have a black-and-white version, it’s a good place to start.


Keep scrolling and you should eventually find something.
You can switch to another icon type by selecting another size or bit depth at the bottom of the window. When you do, RotLI will try to remain at the same physical location in the file. This is useful because, often, icons of different sizes and bit depths were physically clustered together in a resource file. So when you switch to another mode, you might find the other versions nearby.
Fine-tuning
Often, the icon will appear shifted to the left or the right. This is normal, and it’s a side-effect of RotLI presenting data by groups of bytes.
If you spot an icon but it appears shifted, drag the “Fine-tune” slider at the bottom of the window until it’s correctly centered

Pixel Grid
The “Show Pixel Grid” button allows you to turn on and off a light grid effect applied to the icons. It’s purely cosmetic.
![]()
Bookmarking the Icon
Once you have found the icon of your dreams, click on it once to select it and bookmark it using the “+” icon at the bottom right.
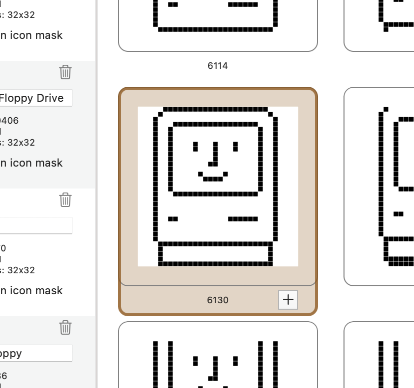
The icon will appear in the list on the left. Some info will be displayed, including a default nickname. You can provide a more explicit name if vou wish.
The Bookmark list
Clicking on an icon in the bookmarks list will return you to that icon.
Clicking the trash icon will remove your bookmark.
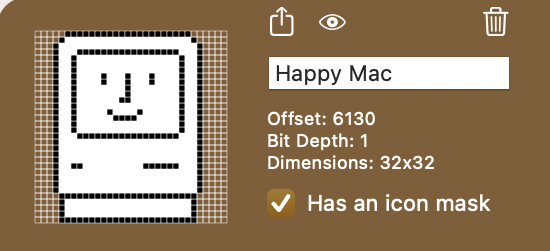
Icon Mask
Classic Mac OS icons can he given an icon mask. This mask identifies which pixels of the icon are visible (they are masked in black), and which are invisible (masked in white).
If, directly following your icon, you notice another icon that looks like the shadow of the one you’re found, click the “Has an icon mask” checkbox on the bookmark. This will tell RotLI that it should capture not only the icon, but also its icon mask.
Note that this only works for 1-bit icons.
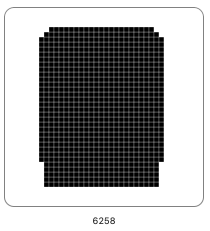
For example, this is what the icon mask for the “Happy Mac” icon would look like:
Sharing
Clicking on the “Share” icon on a bookmark allows you to save it in different formats.
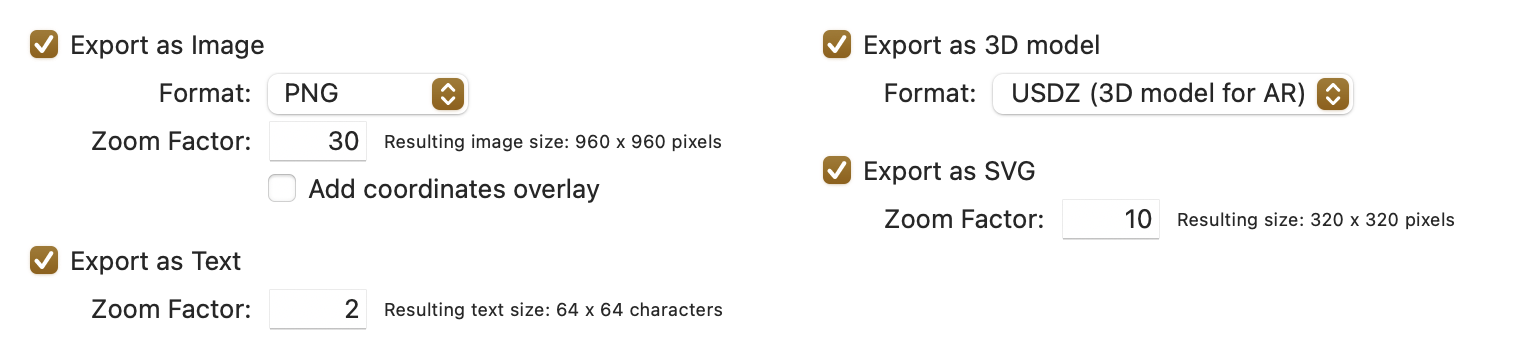
- A PNG, BMP or TIFF image. If your icon has an icon mask, your image will be transparent in all the right places (PNG is best for this).
You can also specify a zoom factor because, on modern screens, a pixel is reaaaaaally small. Each pixel of the original icon will be multiplied by the zoom factor. so, if your original icon is 32 pixels wide and your zoom factor is 10, your image will be 320×320 pixels.
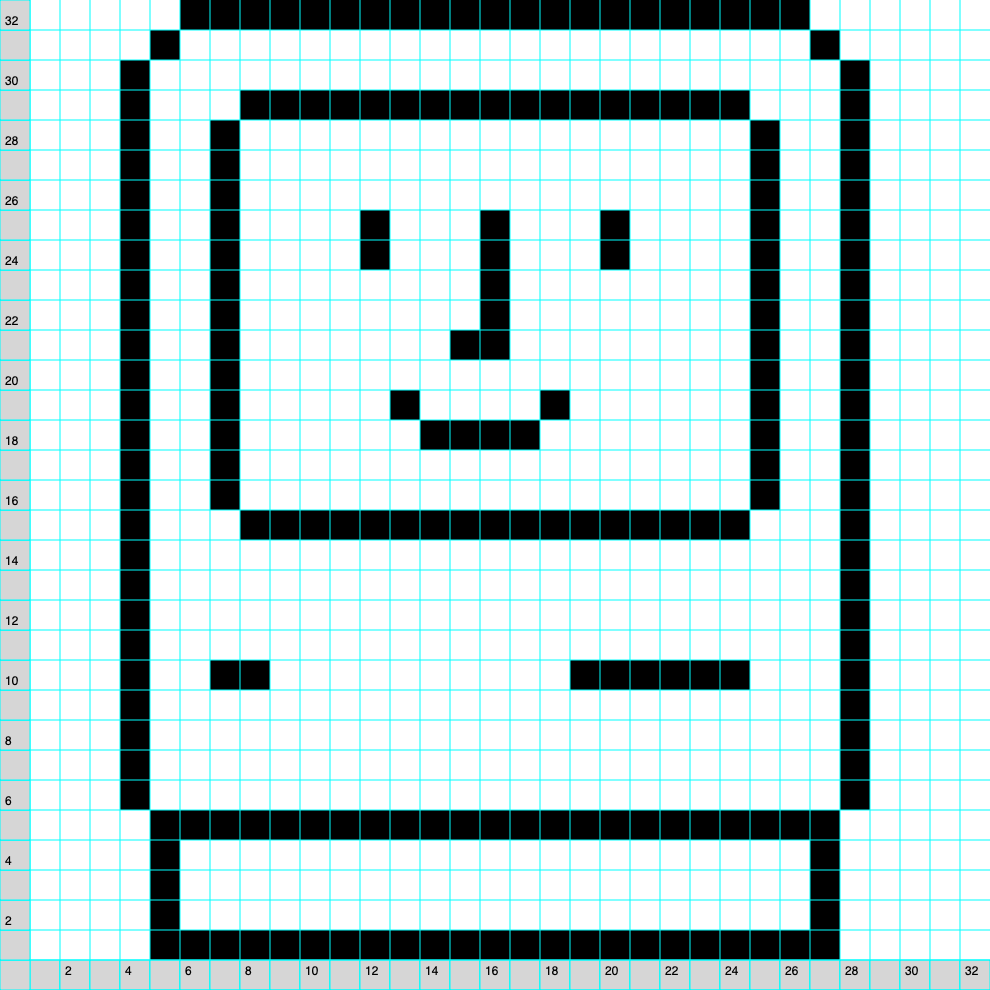
Finally, you can choose to add an overlay to your images. This will add coordinates to the pixels of the icon, simplifying its transfer to the physical world: knit, tile your bathroom, build it out of LEGO…
An ASCII art text file (1-bit icons only). This will create a text file containing your icon represented as ASCII characters. You can then copy and paste it anywhere you want and amaze your friends! Here too you can specify a zoom factor if you want really big icons.
An 3D model. Here, you can choose to create either a USDZ file so you can use your icon in Augmented Reality on your iPhone or iPad, or a DAE (Collada) file for use in a 3D modeler. In 3D, each pixel is 1 cm (0.39 inches) wide.
An SVG file that contains your icon as a vector graphics. You can specify a zoom factor for a nice default presentation, but this is of course infinitely zoomable.
3D Viewer
Clicking on the “Eye” icon will display your icon in glorious 3D. You can click and drag your mouse on the model to contemplate it from every angle.
Save All
Finally, Clicking “Save All Icons” at the bottom of the bookmarks list will save every icon in your list. Here too you’ll have a choice of the formats you want.